27 KiB

MkDocs-MagicSpace
Good documentation is great! Bad documentation is better than nothing.
MkDocs-MagicSpace is an all-in-one tool, carefully crafted to make the development of gorgeous documentation websites like this one as easy as possible.

Try it out:
docker run --name space-1 -d -p 8020-8035:8020-8035 alnoda/mkdocs-magicspace
and open localhost:8020 in browser
Contents
- Why documentation websites with MkDocs
- About
- MkDocs features
- Use-cases
- Launch Workspace
- Use Workspace
- Manage workspaces
Why documentation websites with MkDocs
Why create separate documentation websites? And if so, why MkDocs?
- MkDocs website with beautiful themes looks much better than any readme file. The resulting documentation website looks professional and awesome.
- MkDocs adds text search to your documentation website.
- In the case of closed-source software, sharing readme files from the git repository with external users is not an option.
- Github does not render beautiful extended markdown features like admonitions, tabs, etc. Neither renders diagrams, formulas, swagger docs, or notebooks.
- Using MkDocs-MagicSpace you create documentation from the same markdown readme files you have in your repo together with the code. And you can create a unified documentation website from multiple repositories in Github, GitLab, Bitbucket.
- You can add such features as Google Analytics, multi-language localization.
About
The Workspace contains browser-based Visual Studio Code, and several browser-based tools that make it more convenient to work from inside a docker container.

- Workspace UI - launch all workspace tools from one place.
- Eclipse Theia - open source version of popular Visual Studio Code IDE. Theia is trully open-source, has VS-Code extensions and works in browser. This means it can run inside a docker container on local machine or in cloud.
- FileBrowser - manage files and folders inside the workspace, and exchange data between local environment and the workspace
- Cronicle - task scheduler and runner, with a web based front-end UI. It handles both scheduled, repeating and on-demand jobs, targeting any number of worker servers, with real-time stats and live log viewer.
- Static File Server - view any static html sites as easy as if you do it on your local machine. Serve static websites easily.
- Ungit - rings user friendliness to git without sacrificing the versatility of it.
- Midnight Commander - Feature rich visual file manager with internal text viewer and editor.
- Process Monitor - Monitor running process and resource utilization.
Other:
- Docker in docker
- Zsh, Oh my Zsh
- Python 3, Pip
- Node/nodeenv
- git, git-flow
- curl, wget, telnet, jq,
- nano, vim, mc, ncdu, htop
- supervisord
- cron
Built on top of Workspace-in-docker, Base-workspace, and Ubuntu-workspace, this workspace gets all the features those workspaces have.
MkDocs features
MkDocs-MagicSpace in its essense is all about MkDocs - a fast, simple and downright gorgeous static site generator that's geared towards building project documentation.
MkDocs has many themes, MkDocs-MagicSpace has Material for MkDocs set up and configured by default. It is one of the best themes for MkDocs, which makes your website look very professional. This theme is extremely customizable, searchable, mobile-friendly, has 40+ languages, has built-in search. It also adds lots of markdown features such as tabbed content containers, mathematical formulas, critic markup, task lists, and more than 10k icons and emojis.
MkDocs-MagicSpace has lots of packages and extensions already installed:
- PyMdown Extensions - add even more cool features of the extended markdown: sub- and superscripts, keys, magic links, sane headers etc.
- Mkdocs-macro plugin - add variables and macros written in Python!
- Mkdocs-monorepo plugin - build multiple documentation folders in a single Mkdocs. Designed for large codebases.
- MkDocs Newsletter - show the changes of documentation repositories in a user friendly format, at the same time that it's easy for the authors to maintain.
- Mkdocs-mermaid2-plugin - renders textual graph descriptions into Mermaid graphs (flow charts, sequence diagrams, pie charts, etc.).
- Pygments - a generic syntax highlighter suitable for use in code hosting, forums, wikis or other applications that need to prettify source code, with over 500 languages and other text formats.
- Mkdocs-include-markdown-plugin - include Markdown files completely or partially, and include files of any type.
- Mkdocs-table-reader-plugin - directly insert CSV files as tables in your website.
(The complete list of installed packages - /home/abc/installed-python-packages/mkdocs-requirements.txt)
Use-cases
This workspace has many tools and dependencies, configuring it from scratch will cost you a lot of time.
With the help of MkDocs-MagicSpace you can develop, build and serve the following kinds of websites:
-
Awesome looking docs for your open-source project. Use HTML & CSS to create front page and markdown for doc pages.
-
User manuals and API docs. While enterprise docs are for internal use, create great-looking API websites for your users, and manuals for your customers.
-
Enterprise documentation websites that unite numerous git repositories into one documentation project.
-
Tutorials and training websites. Do you have a lot of experience in something? Share it with the world. MkDocs-MagicSpace helps you to highlight the code in many programming languages, write complex mathematical formulas, draw diagrams and so much more!
-
With MkDocs-MagicSpace you can also create books, booklets, and brochures as .pdf files.
One of the most convenient features of the MkDocs-MagicSpace - is that it is a workspace in docker. You use it on your local machine, you can run it on the remote server and collaborate with your colleagues, you can give it to your peer as a whole. And you can use it to serve your docs from any server, no matter if it is public or inside the company's VPN.
Launch Workspace
Workspaces - are merely docker containers, that's why managing workspaces is easy and intuitive - it is enough to know only docker commands, no need to learn any new tools.
In order to avoid confusion, the following convention is adopted:
command to execute outside of the workspace
command to execute inside the workspace (after entering running docker container)
To start a workspace simply execute in terminal
docker run --name space-1 -d -p 8020-8035:8020-8035 alnoda/mkdocs-magicspace
(It is recommended to run workspace in the daemon mode)
Workspace has its own UI, which includes quiklaunch (home) page and documentation pages. From the quiklaunch you can open any workspace tool. Documentation pages you modify in order to document the project, workspace use and setup.
Workspace terminal
There are several ways how to work with terminal of the the mkdocs-magicspace:
- built-it in-browser terminal
- use terminal provided by in-browser IDE http://localhost:8025 (unless other ports are mapped)
- ssh into the running the docker container (of the workspace) from your terminal

(Browser-based terminals always work under the user you started the workspace with, the default is non root user "abc")
If you want to enter running workspace container from your terminal execute:
docker exec -it space-1 /bin/zsh
If you don't want to use z-shell
docker exec -it space-1 /bin/bash
This way allows to ssh into the workspace as a root user at any time, even if the workspace itself was not starter as root user (the default user is abc)
docker exec -it --user=root space-1 /bin/zsh
You can work in Ubuntu terminal now. Execute the followinng command to know your workspace user
whoami
Multiple workspaces
Every workspace requires range of ports. If one workspace is up and running, the ports 8020-8035 are taken.
mkdocs-magicspace itself uses 9 ports (8020-8028), but it is recommended to map several extra ports just in case. Having extra ports, you can always launch new applications on these ports, and they will be immediately exposed outside of the workspace.
In order to start another workspace, you either need to stop currently runnning workspace, or to run another workspace on the different port range.
If you are planning to run more than one workspace at the same time, you can run another workspace with the different port range, for example
docker run --name space-2 -d -p 8040-8055:8020-8035 -e ENTRY_PORT=8040 alnoda/mkdocs-magicspace
Notice that in addition we need to set environmental variable ENTRY_PORT, which should be equal to the first port in the new range. Workspace UI usues this variable to know the new port range, and redirects to the proper addresses of the workspace applications' UIs.
Open more ports
We started workspace container with a port range mapped "-p 8020-8035". If you are planning to expose more applications from inside of a container, add additional port mapping, for example
docker run --name space-1 -d -p 8020-8035:8020-8035 -p 8080:8080 alnoda/mkdocs-magicspace
You can add multiple port mappings:
docker run --name space-1 -d -p 8020-8035:8020-8035 -p 8080:8080 -p 443:443 alnoda/mkdocs-magicspace
NOTE: It is not a problem if you don't expose any ports, but later on realise you need them - you will just create new image, and run it exposing the required port (look in the section Create new image)
Docker in docker
It is possible to work with docker directly from the workspace (using workspace terminal).
docker run --name space-1 -d -p 8020-8035:8020-8035 -v /var/run/docker.sock:/var/run/docker.sock alnoda/mkdocs-magicspace
NOTE: in order to use docker in docker you need to or enter into the workspace container as root
docker exec -it --user=root space-1 /bin/zsh
Run on remote server
Because workspace is just a docker image, running it in any other server is as easy as running it on local laptop.
Running on remote server makes it much simpler to collaborate, because you can just share credentials to the workspace with your peers, and they will be able to use it. You can also run applications that should run permanently, and run jobs on schedule.
Unsecure remote workspace
The simplest deployment of the workkspace requires only 3 steps:
- get virtual server on your favourite cloud (Digital Ocean, Linode, AWS, GC, Azure ...)
- install docker on this server
- ssh to the remote server and start workspace
docker run --name space-1 -d -p 8020-8035:8020-8035 -e WRK_HOST="<ip-of-your-remote-server>" alnoda/mkdocs-magicspace
NOTE: When running workspace on the remote server, add envronmental variable -e WRK_HOST="<ip-of-your-remote-server>".
Workspace UI needss this variable to know how redirect properly to the workspace applications' UIs.
Open in your browser <ip-of-your-remote-server>:8020
If docker-in-docker is required, then
docker run --name space-1 -d -p 8020-8035:8020-8035 -e WRK_HOST="<ip-of-your-remote-server>" -v /var/run/docker.sock:/var/run/docker.sock alnoda/mkdocs-magicspace
This way launches workspace in cloud, but such workspace is not secure, everyone who knows IP of your server will be able to use it.
Secure remote workspace
You might want to restrict access to the workspace, and secure encrypted communication with the workspace
Kkdocs-MagicSpace contains utility that will generate everything needed to launch the workspace in cloud in a secure way, with authentication and with TLS.
If you want to run workspace on the remote server securely, start mkdocs-magicspace on your local laptop first, open its terminal and
use utility /home/abc/utils/remote.py to generate create docker-compose project with TLS certificates. Simply execute
python /home/abc/utils/remote.py --workspace="mkdocs-magicspace" --port="8020" --host="68.183.69.198" --user="user1" --password="pass1"
NOTE: you have to specify the correct host (IP of the server you want to run the workspace on), and user and password of your choice.
After the command is executed, you will see folder /home/abc/utils/remote is created. Download it out from the workspace to the local environment using the Filebrowser:

. Copy this folder to the remote server where you want to launch the Python workspace. You can use cyberduck or scp. ssh to the server, cd to the directory you copied and execute
docker-compose up -d
That's it, you workspace is running securely on the remote server, using self-signed TLS certificates for encrypted https communication between you laptop and the remote workspace, and authentication is added.
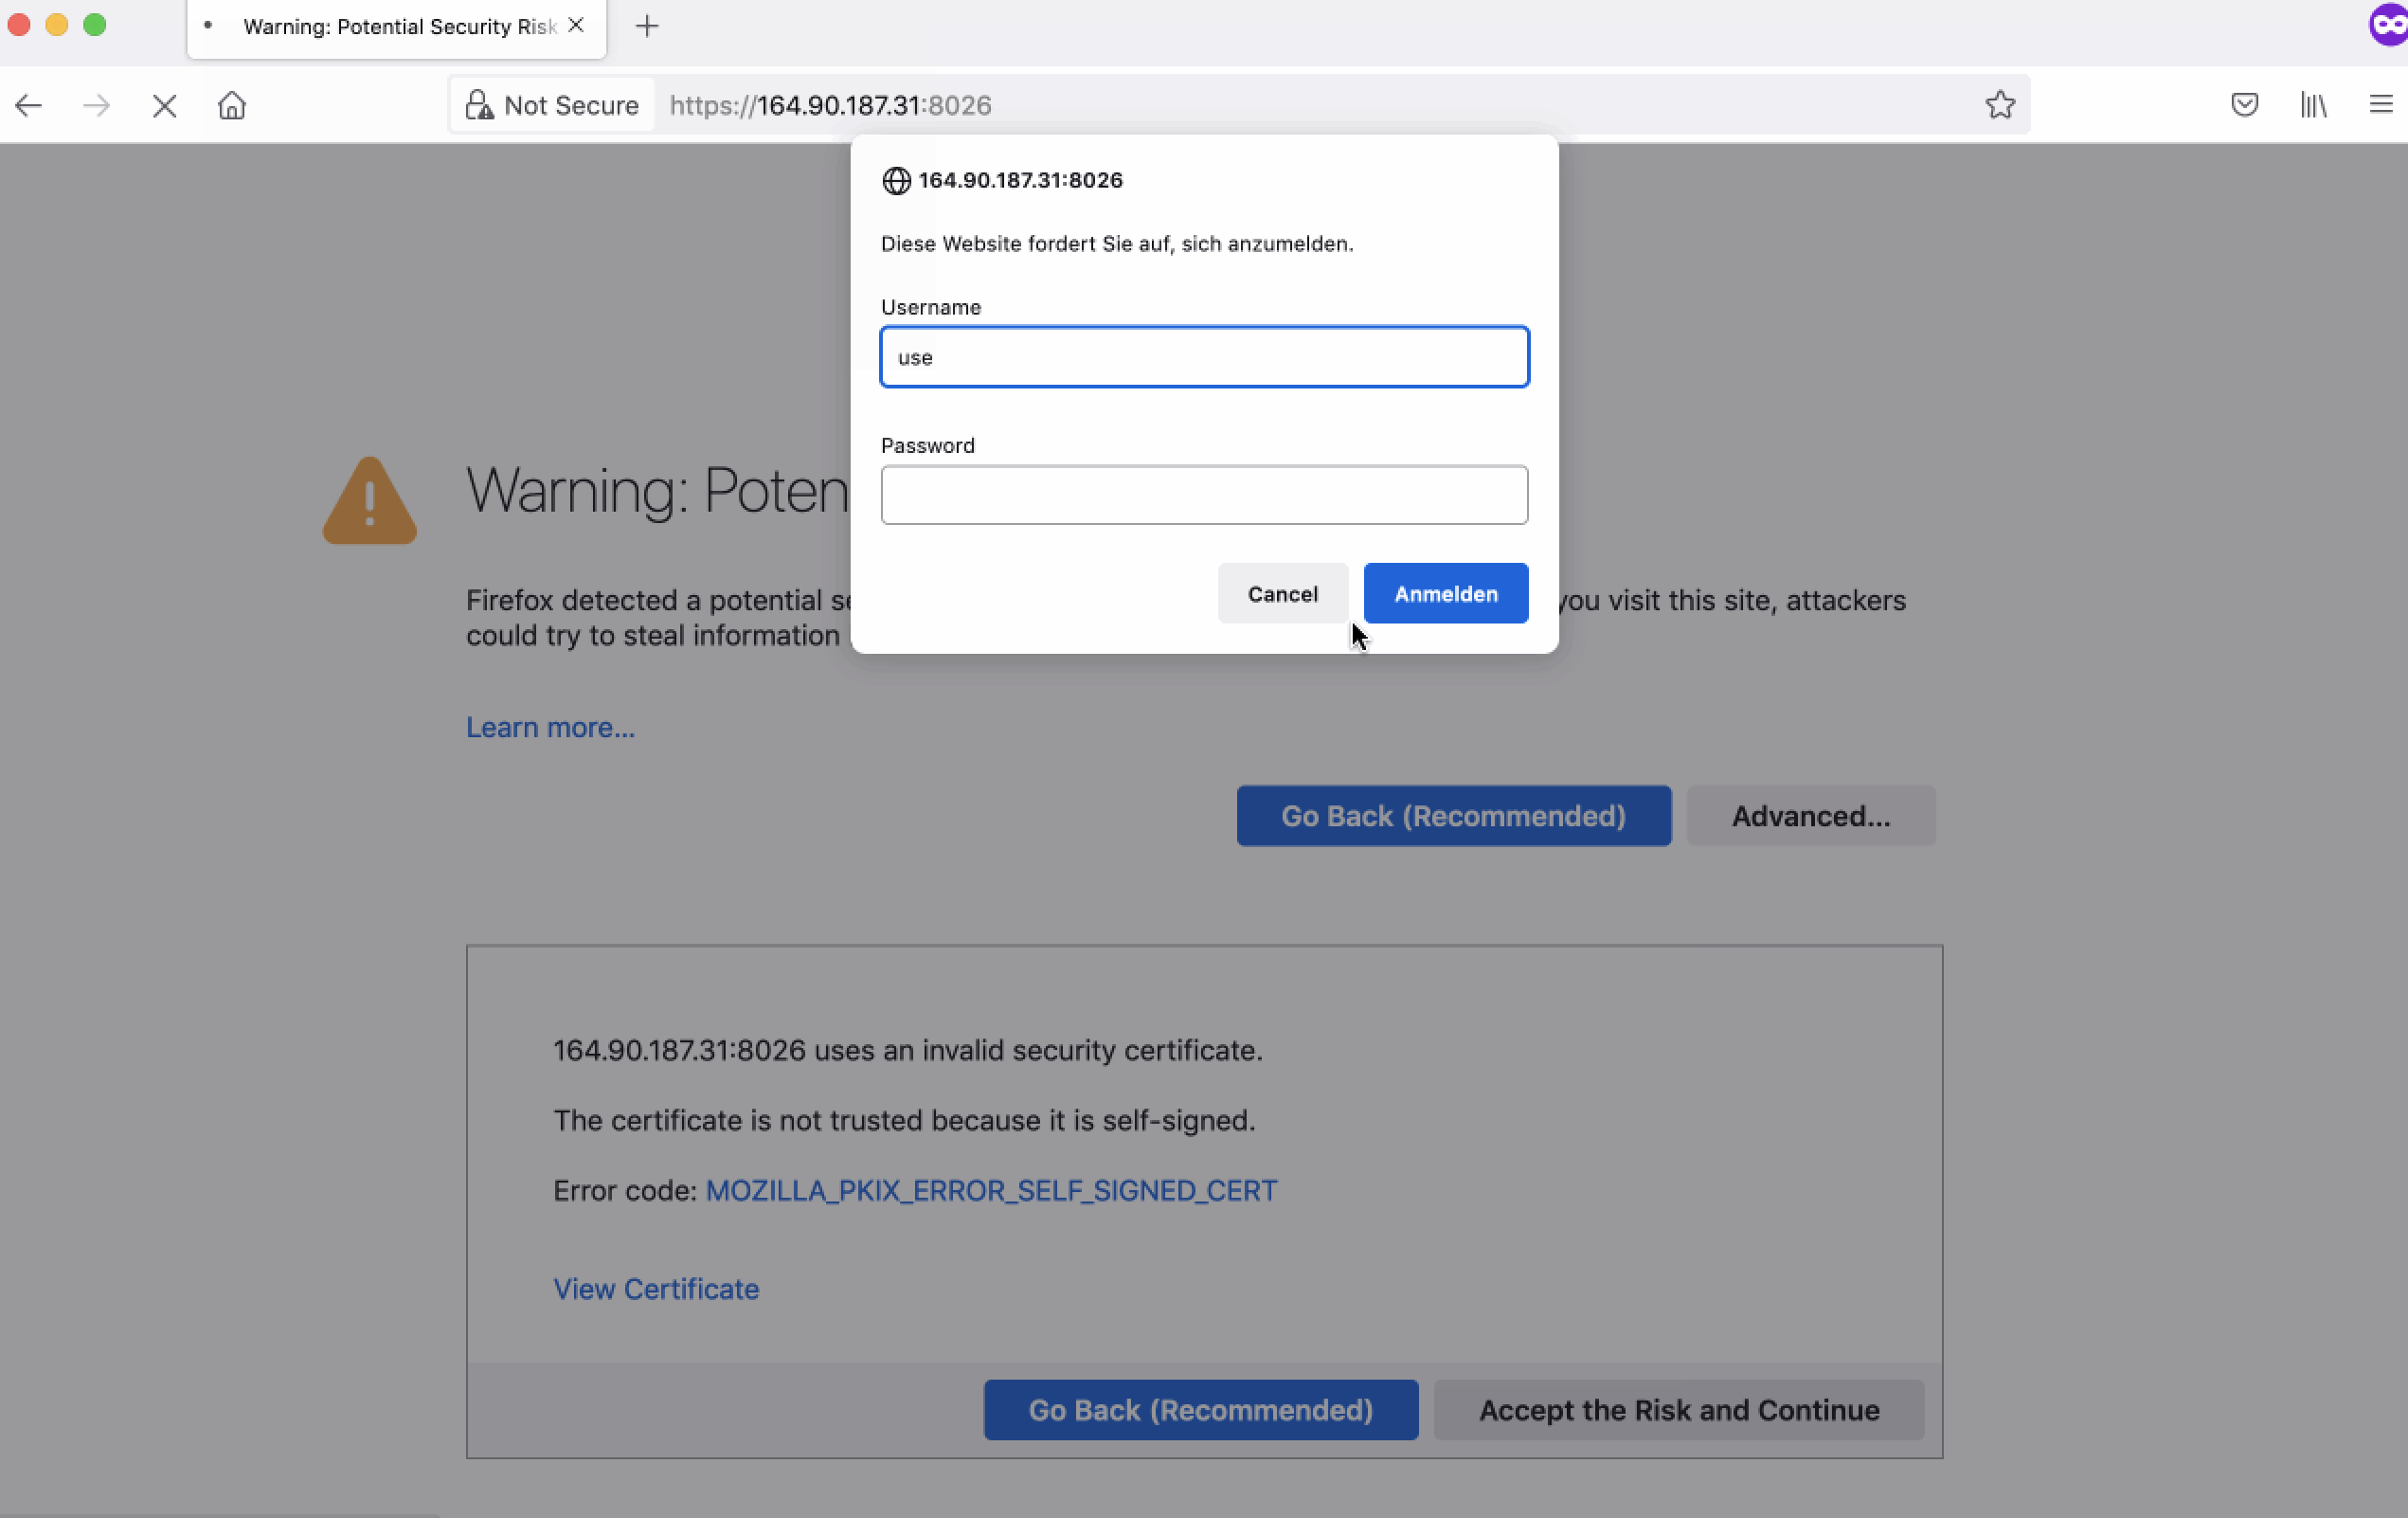
NOTE: The HTTPS is with self-signed certificate, and your browser will show a warning, asking you to accept the risk
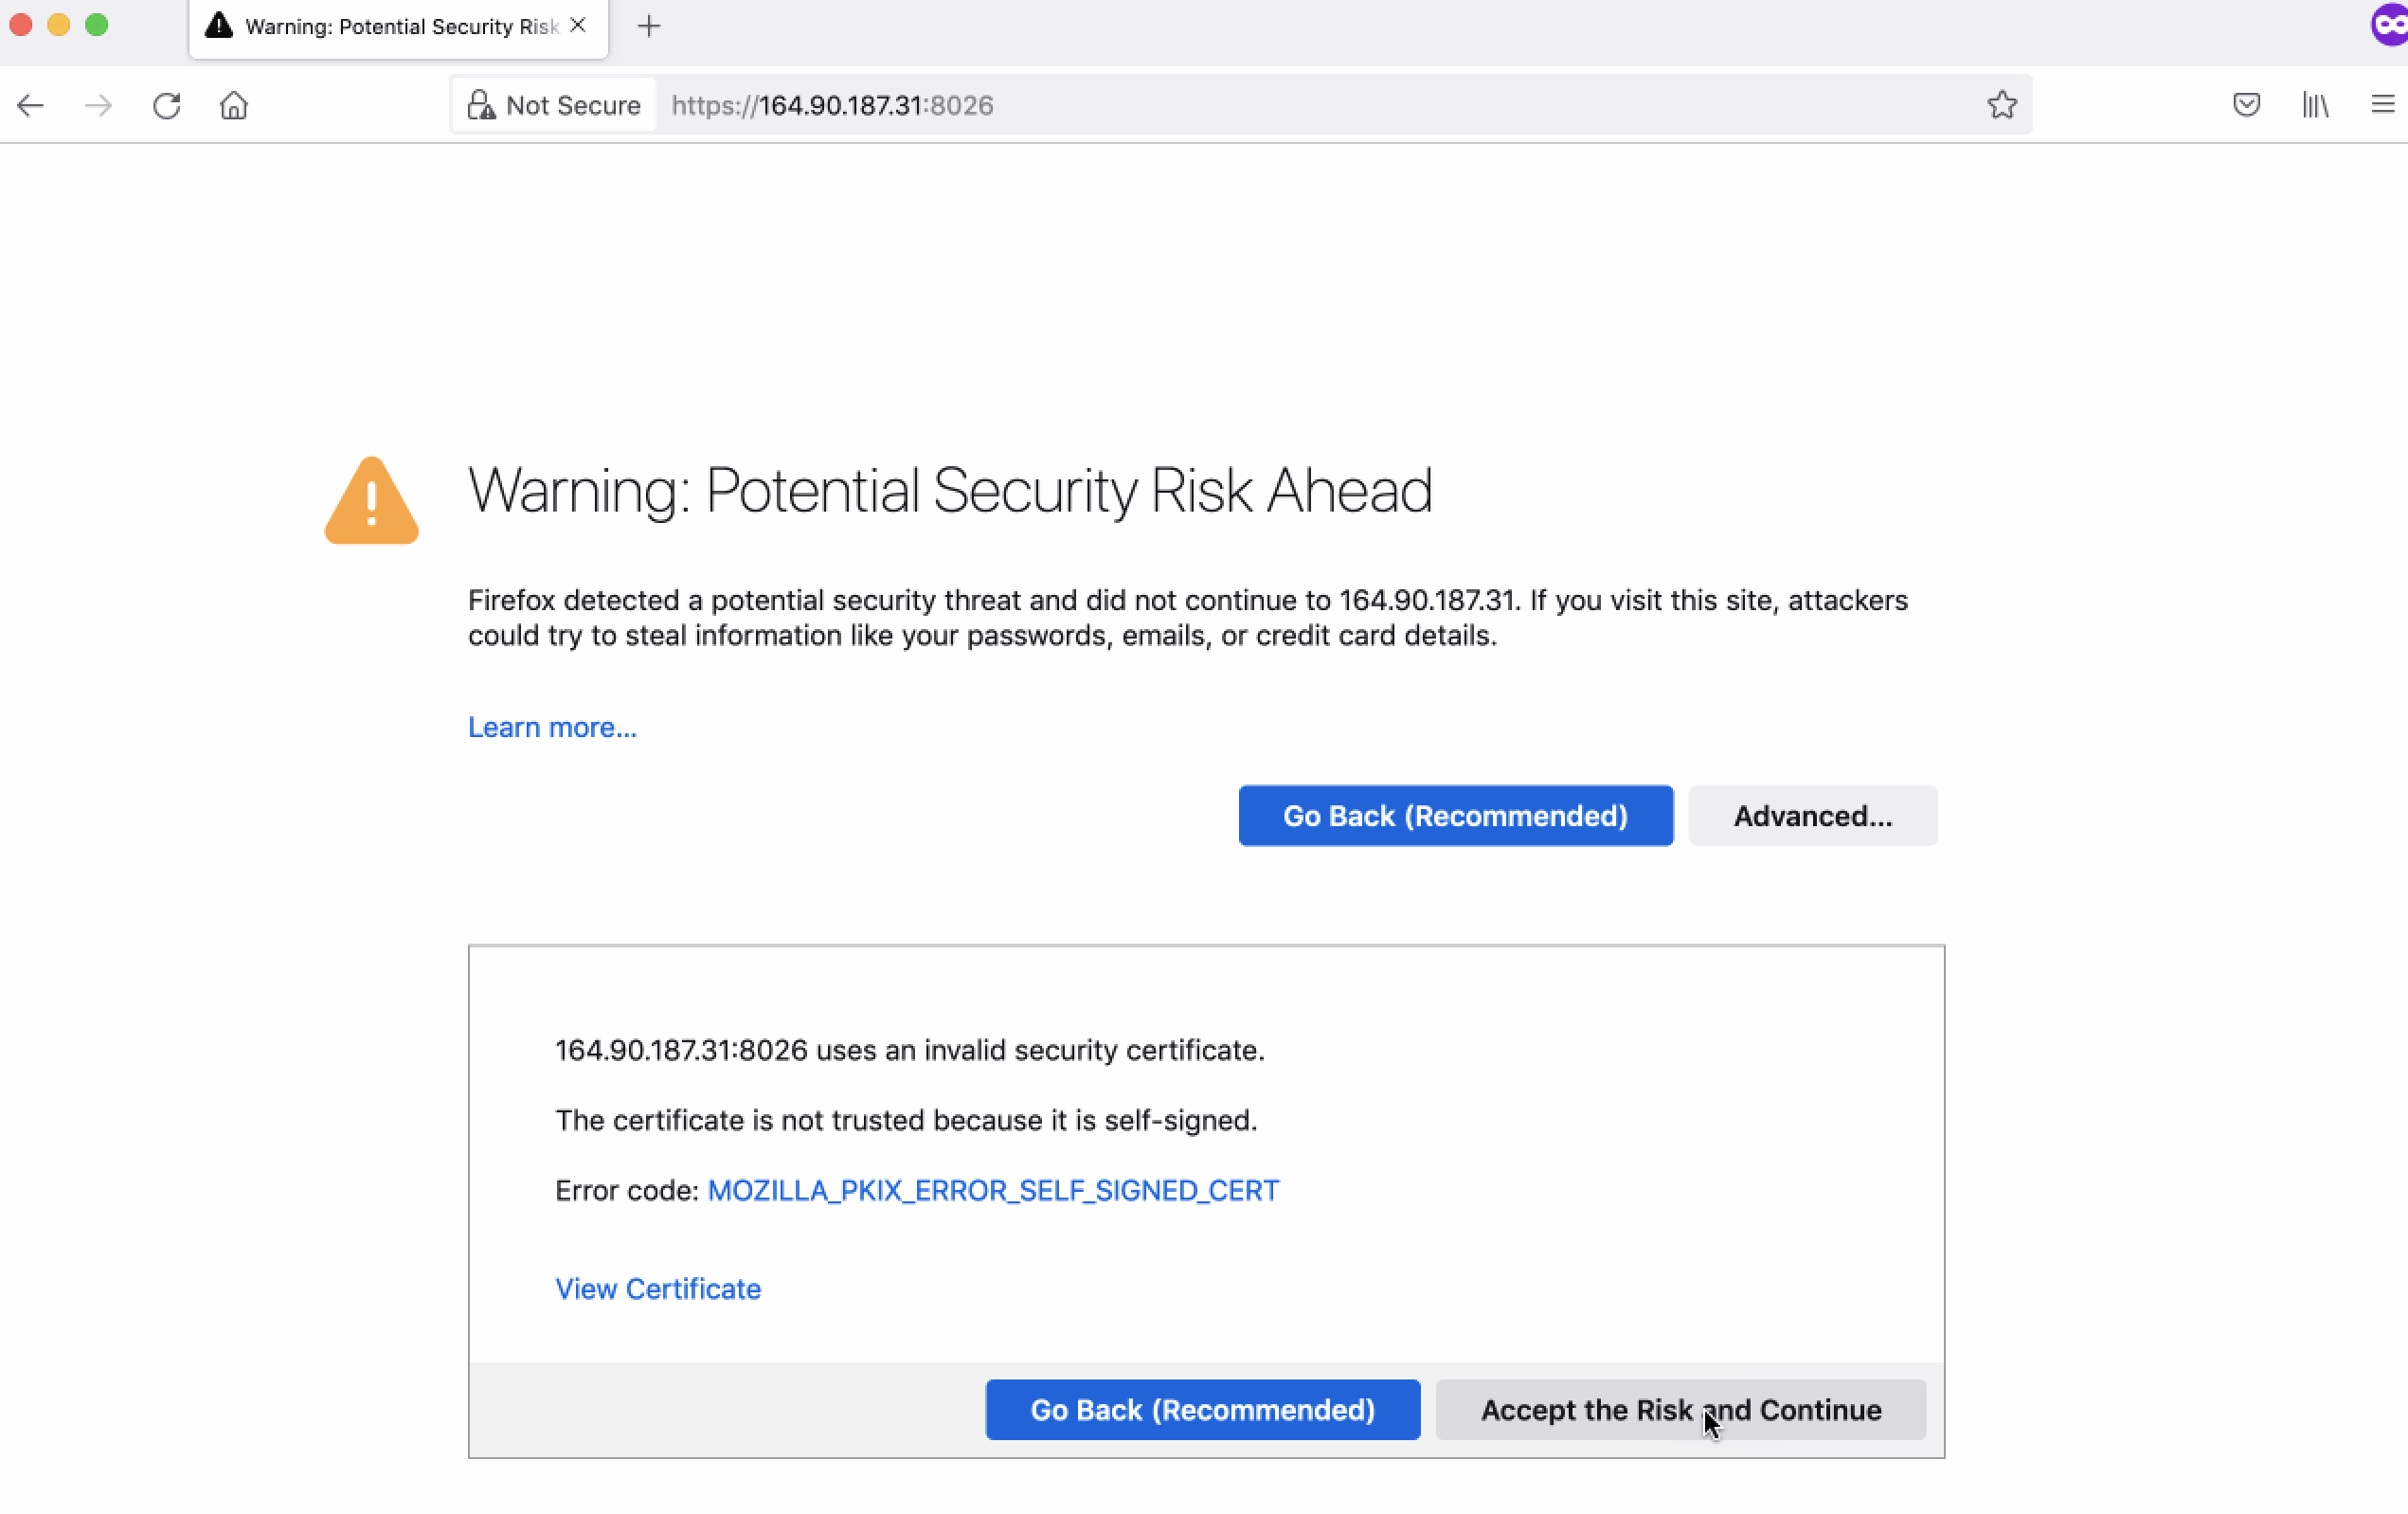
After you accept the risk, authentication window will appear asking you the user and password, that you have set as<ANY_USER_NAME>, <ANY_USER_PASSWORD>
Use Workspace
Create MkDocs website
MkDocs is very powerful. Even more powerful it becomes with Material for MkDocs.
But this workspace takes it to the space by having tons of Markdown plugins carefully selected, configured, and set up. It would be impossible to
demonstrate all of the advanced Markdown features in the Readme file, simply because standard engines that render Markdown do not support the
advanced features.
We have prepared extended Markdown tutorials, so that you don't need to search in the Internet for docs of every Markdown plugin. They are all in one place:
- Intro
- Basics
- Hack the markdown
- Improve readability with tabs, lists and footnotes
- Create tables
- Highlight with blockquotes and admonitions
- Make it classy with emoji, icons and more
- Make images awesome
- Add the code
- Write formulas
- Draw diagrams
- Use templates
In addition you can find here tutorials how to build and deploy your website in just couple of clicks
Install applications
Use workspace workspace terminal to install new applications.
Install with sudo apt install. The default abc user is allowed to install packages.
For example, in order to install Emacs text editor open workspace terminal, and execute
sudo apt install emacs
Schedule jobs with Cron
Schedule execution of any task with cron - a time-based job scheduler in Unix-like computer operating systems.
Open workspace terminal, and execute
crontab -e
(chose [1] nano as editor on the first time) In the end of the opened file add line
* * * * * echo $(whoami) >> /home/cron.txt
This will print every minute username to file /home/cron.txt . (Hit Ctrl+X to exit nano)
Hint: example of cron job definition:
.---------------- minute (0 - 59)
|  .------------- hour (0 - 23)
|  |  .---------- day of month (1 - 31)
|  |  |  .------- month (1 - 12) OR jan,feb,mar,apr ...
|  |  |  |  .---- day of week (0 - 6) (Sunday=0 or 7) OR sun,mon,tue,wed,thu,fri,sat
|  |  |  |  |
*  *  *  *  *  command to be executed
NOTE you can disconnect from the image and close terminal - cron will continue working.
Instead of cron you might want to use Cronicle - a tool with Web UI, and a great list of features that will provide you with the dashboard, list of executions and statistics, even let you ser limis on resources for each jobs, and create depenndencies between jobs.
Python
Python and Pip are installed. To use python console, open workspace terminal and execute
python
install python package with pip, for
pip install pandas
If you are planning to work with python, we recommend to install IPython, that provides a rich toolkit to help you make the most of using Python interactively. Install and start ipython
pip install ipython
ipython
Node.js
We recommend to use nodeenv to create different node environments.
For example, open workspace terminal, create folder npmgui, and activate environment with node v. 12.18.3 and npm v.6.0.0
cd /home
mkdir npmgui; cd npmgui
nodeenv --node=12.18.3 --npm=6.0.0 env
Let's install package and start node application
. env/bin/activate && npm i -g npm-gui
npm-gui 0.0.0.0:8030
Open your browser on http://localhost:8030/
NOTE: If you close terminal, the application will stop. See how to start applications that reamin live after closing a workspace terminal
Run applications and services inside the workspace
If you want application to keep running after workspace terminal is closed start it with "&!" at the end.
For example, in the last section we started npm-gui tool with command npm-gui 0.0.0.0:8030. If you close the workspace terminal,
this application witll stop running. To keep it running after terminal is closed, execute
npm-gui 0.0.0.0:8030 &!
Now, if you disconnect from the workspace and close terminal, the application will continue running in the workspace, untill workspace is stopped.
Manage workspaces
Workspace is just a docker container. You can start, stop, delete and do anything you can do with docker images and containers.
There are two concepts to keep in mind: images and containers. Images are workspace blueprints. For example, alnoda/mkdocs-magicspace - is an image. When you execute this command
docker run --name space-1 -d -p 8020-8035:8020-8035 alnoda/mkdocs-magicspace
you create container called space-1 from the image alnoda/mkdocs-magicspace. You can create any number of containers, but you need to map different ports to each of them.
Container - is your workspace. You can start, stop and delete them. You can run multiple workspace containers at the same time, or work with one workspace at a time.
From the workspace (which is a container) you can create new image. This is called commit docker image. Essentially, this means "take my workspace and create new image with all the changes I've done in my workspace"
Start and stop workspaces
The workspace started in daemon mode will continue working in the background.
See all the running docker containers
docker ps
Stop workspace
docker stop space-1
Workspace is stopped. All the processes and cron jobs are not running.
See all docker conntainers, including stopped
docker ps -a
Start workspace again. Processes and cron jobs are resumed.
docker start space-1
Delete workspace container (all work will be lost)
docker rm space-1
Create new workspace image
Having made changes, you can commit them creating new image of the workspace. In order to create new workspace image with the name "space-image" and version "0.2" execute
docker commit space-1 space-image:0.2
Run new workspace with
docker run --name space2 -d space-image:0.2
The new workspace accommodates all the changes that you've made in your space-1. Hence you can have versions of your workspaces. Create different versions before the important changes.
Manage workspace images
See all docker images
docker images
Delete workspace image entirely
docker rmi -f alnoda/mkdocs-magicspace
NOTE: you cannot delete image if there is a running container created from it. Stop container first.
Save and load workspace images
After you commit workspace container, and create new image out of it, you can push it to your docker registry or save it in a file.
Save workspace in a file
Assuming you created new image space-image:0.4 from your workspace, you can save it as a tar file
docker save space-image:0.4 > space-image-0.4.tar
We can delete the image with
docker rmi -f space-image:0.4
And restore it from the tar file
docker load < space-image-0.4.tar
Push workspace to a registry
A better way to manage images is docker registries. You can use docker registries in multiple clouds. They are cheap annd very convenient.
Check out for example, Registry in DigitalOcean or in Scaleway container registry. There are more.
Pushing image to registry is merely 2 extra commands: 1) tag image; 2) push image
You will be able to pull image on any device, local or cloud.
Move workspace to the cloud
Ease of running workspace in cloud, and ability to move workspaces between local machine and remote server - is one of the main features of the workspace, and the reasonn why the workspace is entirely in docker.
It is often a case that experiment, which started on personal notebook require more computational resources, must be running for a long period of time, or executed periodically. All of these cases are the reasons to move a workspace to the cloud server. Usually it is a hassle, but this workspace can be moved to the remote server easily.
The easiest way to move workspace to the cloud is to get your private docker registry. Then moving a workspace from a laptop to a remote server is only 3 commands:
- Commit workspace to the a image
- Push workspace to your docker registry
- ssh to remote server, and run workspace there
If you don't want to use container registry, then there are 2 steps more involved:
- Commit workspace to the a image
- Save image to file
- Copy file to remote server. There are many options:
- Load workspace image from file on the remote server
- Start workspace on the remote server